LeGrimpeur (Talk | contribs) (→Bosses) |
m (→Drop Table) |
||
| Line 187: | Line 187: | ||
|- | |- | ||
| Blackwood Staff ||<span style="color: green">Uncommon </span> || 25 ||Staff||13.5|| 2000 | | Blackwood Staff ||<span style="color: green">Uncommon </span> || 25 ||Staff||13.5|| 2000 | ||
| + | |- | ||
| + | | Celestial Halbard ||<span style="color: lightblue">Rare </span> || 25 ||Two Handed|| - || - | ||
| + | |- | ||
| + | | Celestial Ward ||<span style="color: lightblue">Rare </span> || 25 ||Shield|| - || - | ||
|- | |- | ||
| Morning star ||<span style="color: lightblue">Rare </span> || 25 ||Dagger||18|| 4000 | | Morning star ||<span style="color: lightblue">Rare </span> || 25 ||Dagger||18|| 4000 | ||
Revision as of 07:09, 19 March 2023
Contents
General Info
- Instances or "instanced dungeons" are special areas of the map that exist uniquely for each party. (i.e. if two separate parties enter the same instance, they will not see each other).
- Each instance can only be entered once per day per account.
- This means that if you die in an instance, you will not be able to renter to gain dropped items or finish quests / bosses.
- Instances are generally made groups of 2-4, but some of the lower level ones can be soloed by more powerful characters.
Ancient Temple
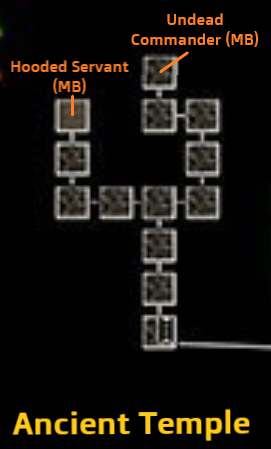
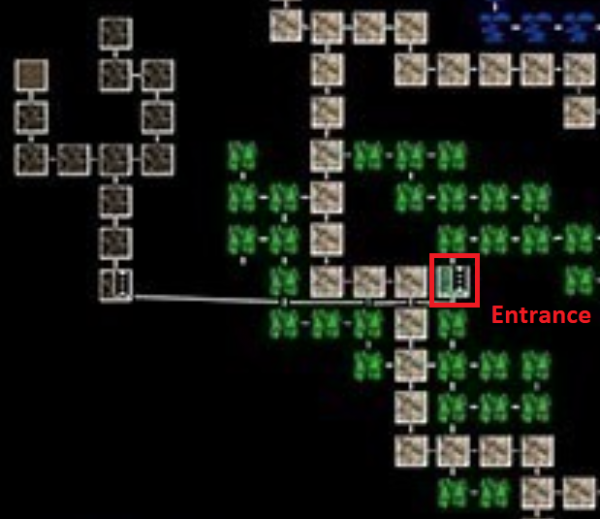
Map
General Info
Recommended Level: 12-15*
Recommended party size: 1-2
- This instance difficulty and rewards now scale with level. (Does not drop lvl 25 gear)
Location
Canopia Forest, just outside Seamoor
Mechanics
- This is the first instance available to players, and is quite simple.
- Be aware that there are several KTP (kill to progress rooms).
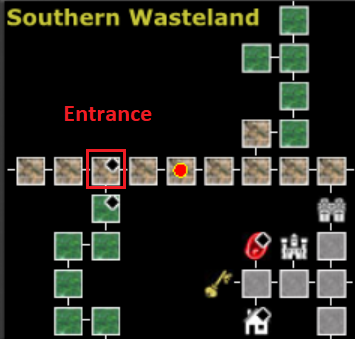
- To exit the dungeon you will have to kill the guardian that is in the entrance room when you first arrive, so make sure you have enough potions.
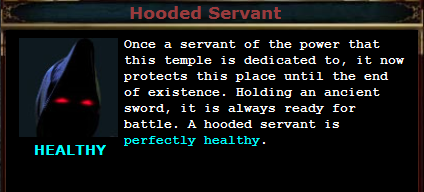
- start by heading North West to the Hooded Servant. Kill him and pick up his key. You will need this to enter the boss room.
- Make your way back to the main hall and fight your way to the Eastern passage up towards the Undead Commander.
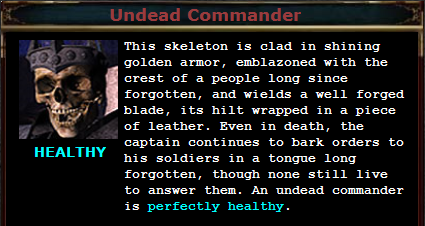
- There is nothing special about this boss, nuke him down and make sure you have enough healing.
Bosses
Tips
- Nothing too complicated about this one.
- There is an NPC directly outside of the entrance that will give you a quest for this Instance.
- This Instance now scales to whatever level you are when you enter, unlike others that have a level cap.
Drop Table
| Name | RARITY | LVL | Type | AD/Armor | Sell |
|---|---|---|---|---|---|
| Commander's Blade | Uncommon | 8 | Sword | 13.5 | 100 |
| Moldy Leather Shield | Uncommon | 15 | Shield | 30 | 750 |
Ringleaders Lair
Map
General Info
Recommended Level: 18-20
Recommended party size: 1-3
- Requires a Golden Key to enter. It is consumed on use.
- These can be found by killing enemies in Linwood, or the Raider's encampment
- This key can also be used to enter the Raider's Den instance.
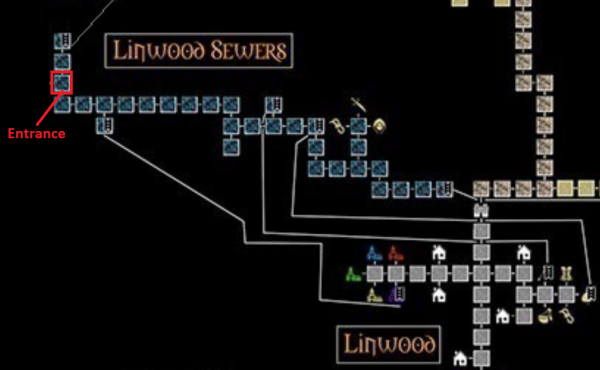
Location
Mechanics
- This instance is quite short, but has mechanics that are far more complicated than the Ancient Temple.
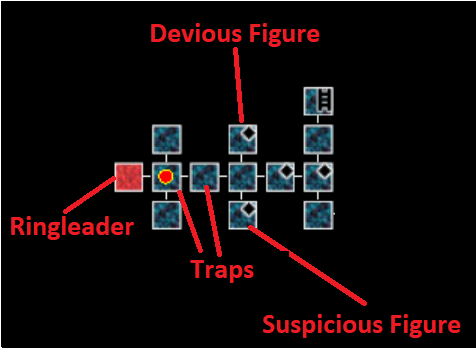
- The first step is to gather the "Devious note" and the "suspicious note"
- These can be found by killing the "Devious Figure" and the "Suspicious Figure" in the rooms marked on the map.
- Once you have the notes, you can use them to reveal a special phrase each
- These phrases need to be messaged to the ringleader when you are standing in the room marked on the map with the red dot.
- To do this type '/d ringleader <special phrase>'
- Depending on which special phrase you message to the ringleader, you will be teleported into either the North or the South room.
- Once in the room you must "/push button" to release the lock on the door in the center room.
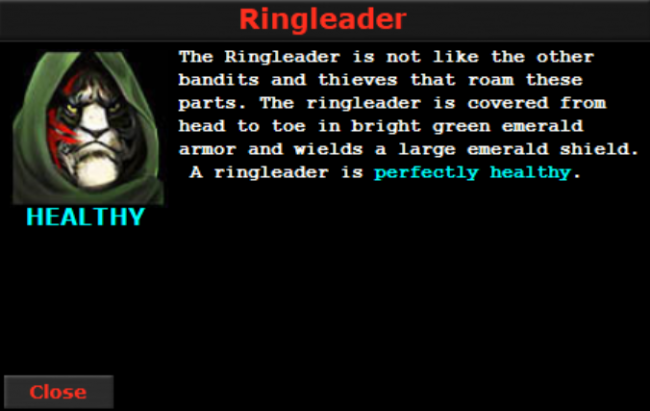
- When both buttons have been pushed, the door heading East unlocks and you can fight the Ringleader.
- These buttons need to be pressed nearly simultaneously for the door to unlock. If you have multiple party members, coordinate to have one press the top and one the bottom button at the same time. (See tips section for tips on how to do this solo)
- There is nothing particularly special about this boss, other than that he will periodically spawn Shadow Assassins, and can backstab for over 500 damage, so make sure you have plenty of healing potions.
Bosses
Tips
- Due to the traps in this instance, it is critical you bring either a Thief, or preferably a Sorcerer than can cast Hover.
- The Trap in the West most room is a paralyzing trap, making you extremely vulnerable to the Shadow Assassins, and making it impossible to move between rooms fast enough to push the buttons.
- The East most trap is a poison gas trap that deals heavy damage.
- If you are running this Instance solo, it is recommended to macro the whisper and push commands to execute them fast enough. For example your macros would be:
- F1: /d ringleader Guards stashed the body
- F2: /push button
- F3: /d ringleader Postmaster led the revolt
- The Ithon Emerald that drops from the Ringleader can be turned in for a quest to the Cloaked figure in the Linwood Sewers that grants 875k Exp and 4600 gold.
Drop Table
| Name | RARITY | LVL | Type | AD/Armor | Sell |
|---|---|---|---|---|---|
| Ringleaders Mitts | Rare | 20 | Gloves | 5 | 1000 |
| Emerald Blocker | Rare | 20 | Shield | 36 | 4000 |
| Emerald Knife | Rare | 20 | Dagger | 16 | 4000 |
| Emerald Mail | Rare | 20 | Medium Armour | 67 | 4000 |
| Emerald Helmet | Rare | 20 | Helmet | 13 | 4000 |
| Glowing Emerald Knife | Epic | 20 | Dagger | 16.5 | 7500 |
| Worn Pouch | Uncommon | N/A | N/A | N/A | N/A |
| Ithon Emerald | Uncommon | N/A | N/A | N/A | 1000 |
Raiders Den
Map
General Info
Location
Mechanics
Bosses
Tips
Drop Table
Blackspawn Woods
Map
General Info
Recommended Level: 25
Recommended party size: 3-4
- Blackspawn woods (also known as BSH) is a fairly long and complicated end game instance.
- The goal is to take out the the Blackspawn that have been terrorizing the surrounding area.
Location
- Blackspawn Woods is located just west of Wiken.
Mechanics
- Note: There are many Kill to Progress (KTP) squares in this dungeon.
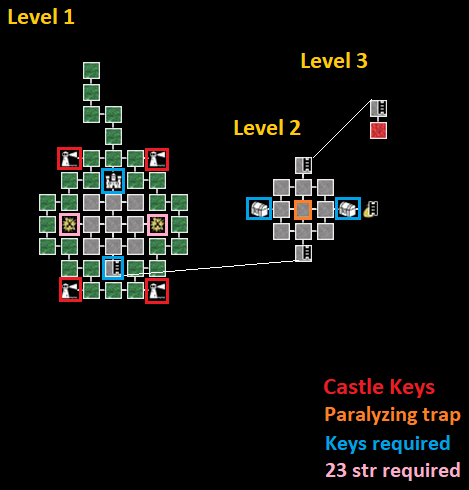
- The first step in this instance is to collect key (marked by red squares on the map) to be able to enter the castle.
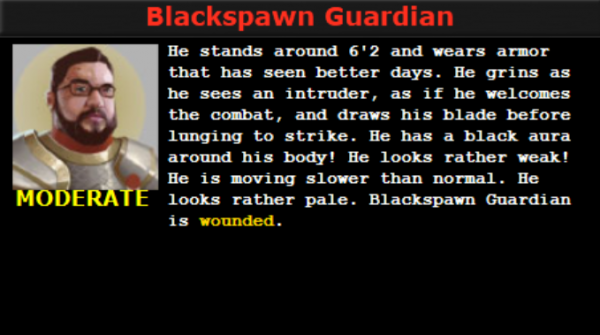
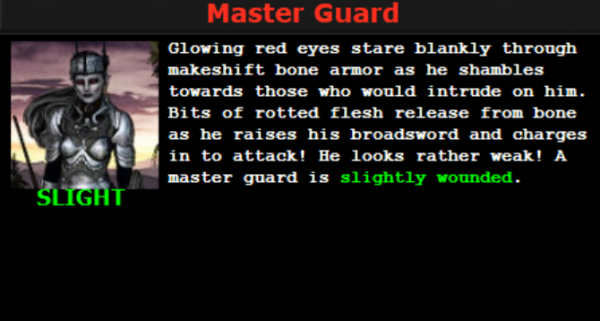
- Each square contains a Blackspawn Guardian that must be defeated to obtain the key.
- These mini bosses will occasionally spawn spectral shield that need to be destroyed before the Guardian can be damaged.
- Each player will need their own key.
- This effectively limits the number of players that can complete this instance to 4.
- Once each player has a key, they will need to each manually enter the castle at the center of level 1.
- The second phase of this instance is to defeat the two mini bosses on the inside of the castle on floor 1, and obtain their keys to progress to floor 2.
- They are located in the squares outlined in pink on the map.
- Note: The leader of the party will need to have at least a strength of 23 to enter these rooms.
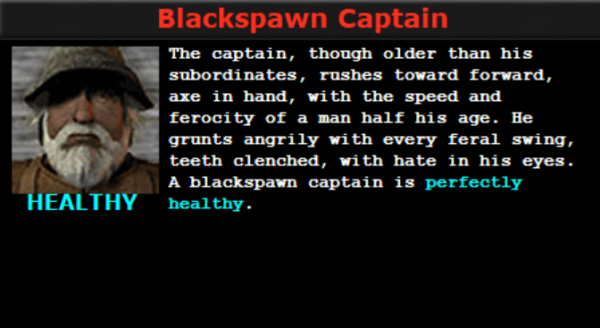
- The Blackspawn Captain is a Berzerker and does heavy damage.
- He can stun with his attacks.
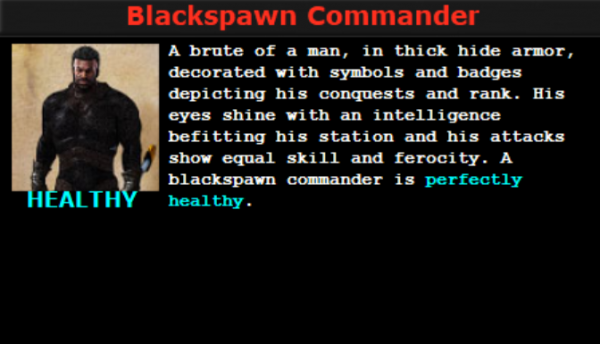
- The Blackspawn Commander is a monk, and will summon additional enemies.
- leave one alive so he doesn't spawn additional mobs
- They are located in the squares outlined in pink on the map.
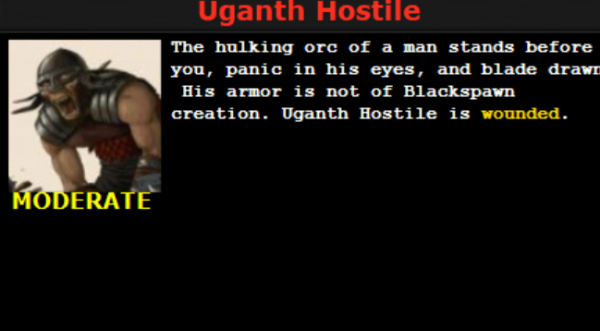
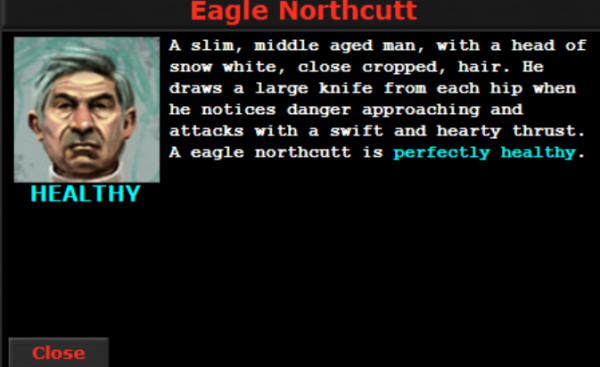
- Once you have the two keys, progress up to the second floor. Your goal for now is to get directly to the third floor to face Eagle and Uganth.
- Most of these spaces are KTP.
- The quickest way is directly through the middle, but be aware that the middle square is a paralyzing trap.
- Go up to the third floor and start the Eagle / Uganth battle.
- Eagle can backstab for high damage. Be careful.
- Uganth can cast nearly any status effect on the party (silence, stun, blind, AOE, damage), so be prepared for your healer to be combat ineffective for several rounds.
- Focus on Eagle first until he runs away, then focus down Uganth.
- Uganth drops the first treasure key that opens the west most treasure room on the second floor.
- Eagle runs to a random square on the second floor. You will need to move around and find him, fighting through the KTP rooms in the process. kill him and obtain the second treasure key.
- Once all bosses are dead, go to the west treasure room first and attack the treasure chests.
- For the right room, there should be an enemy that drops a document with a passphrase.
- you will need to message this passphrase backwards to the mirror in the eastern treasure room to get to the final treasure room.
- the command is: /d mirror esimed ym litnu reverof nwapskcalB
- you will need to message this passphrase backwards to the mirror in the eastern treasure room to get to the final treasure room.
Bosses
Tips
- Enchanters are very useful in this instance as they buff a party members strength to above 23 to allow them to enter the mini boss rooms, and they can caste Hover to allow movement through the paralyzing trap.
- Minstrels can also use their song to buff strength for players to open the doors.
- If you have neither one of these, a Half Orc with max strength can open these doors.
Drop Table
| Name | RARITY | LVL | Type | AD/Armor | Sell |
|---|---|---|---|---|---|
| Captain's Gloves | Uncommon | 25 | Gloves | 7 | 2500 |
| Commander's Boots | Uncommon | 25 | Boots | 7 | 2500 |
| Savage Truncheon | Uncommon | 25 | Staff | 16 | 2000 |
| Blackwood Staff | Uncommon | 25 | Staff | 13.5 | 2000 |
| Celestial Halbard | Rare | 25 | Two Handed | - | - |
| Celestial Ward | Rare | 25 | Shield | - | - |
| Morning star | Rare | 25 | Dagger | 18 | 4000 |
| Angelic Carapace | Epic | 25 | Heavy Armor | 117 | 7500 |
Treasure Fiend's Den
Map
General Info
Recommended Level: 25
Recommended party size: 3-4
Recommended Divinity: Earth
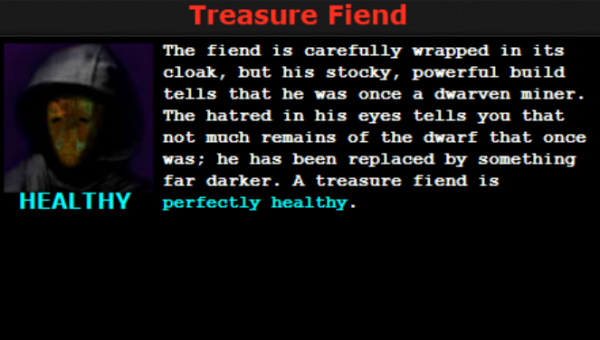
The Treasure fiend is less a dungeon than a boss encounter. The challenge here is that his entire lair is a magic free zone, so you'll need to bring melee damage and potion/ food based healing. Also make sure to have a light source as the layer is dark.
Note: don't rely on the Paladins Sight spell, as you will not be able to cast it once in the lair.
Location
The Treasure Fiend's layer is located deep on the 4th floor of the Dwarven mines, in between Drevlar and the mountain summit. This level, along with the Fiends lair are dark. Make sure to have a race that has dark vision or bring a light source.
Mechanics
- Treasure fiend's lair is a 3x3 grid.
- The whole area is a no cast zone
- The center square does considerable damage overtime, so spend as little time here as possible.
- in the other squares, different amounts of King Scorpions will spawn.
- Several of the squares are KTP (kill to progress) making traversing the lair somewhat difficult.
- The Fiend himself will move from room to room, forcing you to follow him and clean up the scorpions he leaves behind.
- The Treasure Fiend behaves like a Slayer, hiding and backstabbing players for north of 700 damage.
- The fact the only way to heal is via potion makes this burst based damage very dangerous, as a single player that gets targeted will likely not be able to heal up with potions fully before another backstab comes in.
- Nuke him down and kill the mobs as they spawn.
Bosses
Tips
- You can use a Brigand or Slayer to lure King Scorpions into corner square that are not KTP, and then autosneak out, leaving the KTP squares empty. This will allow you to move around quicker.
- If you are a Guardian, consider not protecting anyone. Since there is no spell based healing, its better to disperse the damage over multiple party members.
- Stalkers are particularly valuable here, as their pets can act as a non-magical tank.
- Remember, it's dark in here!
Drop Table
| Name | RARITY | LVL | Type | AD/Armor | Sell |
|---|---|---|---|---|---|
| Fiend's Shiv | Rare | 25 | Dagger | 18 | 4000 |
| Fiend's gauntlets | Rare | 25 | Gloves | 9 | 4000 |
